
Upgrading your home with a new thermostat can improve energy efficiency, save you money on your utility bills, and make your living space more comfortable. This step-by-step guide will help you navigate the process of replacing your old thermostat with a new, programmable one. With a few tools and some basic knowledge, you can upgrade your home in no time.
Step 1: Gather Your Tools and Materials
Before you begin the replacement thermostat in house process, make sure you have the following tools and materials on hand:
- New programmable thermostat
- Screwdriver
- Drill (if necessary)
- Wire cutter/stripper
- Labels or tape
- Marker
- Level (for mounting)
Step 2: Turn Off Power to Your HVAC System
For safety reasons, it is crucial to turn off the power to your heating, ventilation, and air conditioning (HVAC) system before you start working on your thermostat. Locate your circuit breaker panel and switch off the power to the HVAC system to avoid any electrical accidents.
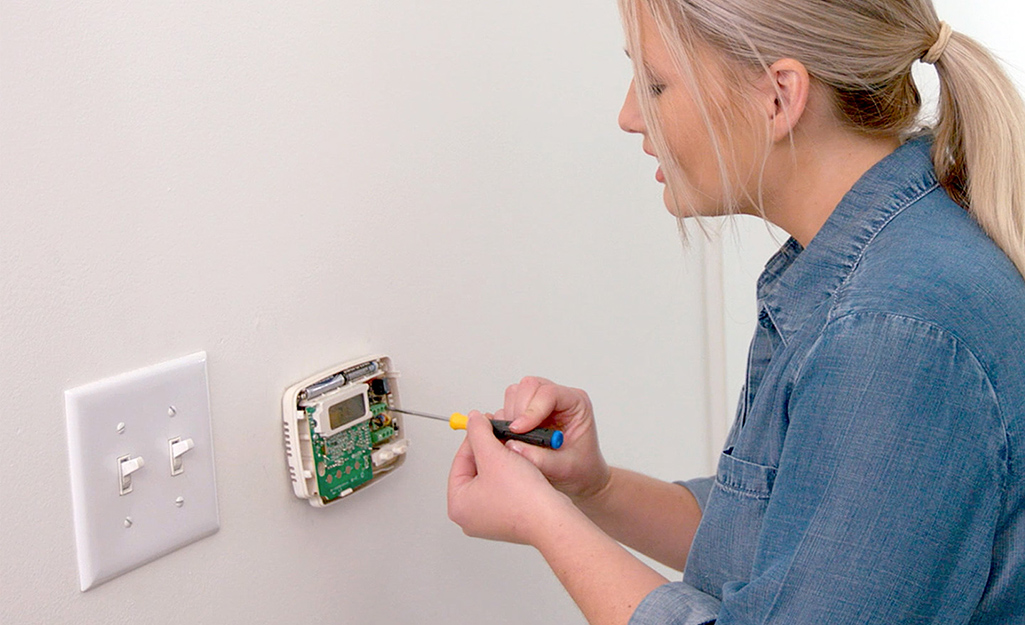
Step 3: Remove the Old Thermostat
Follow these steps to remove the old thermostat:
- Remove the thermostat cover by gently pulling it off the wall.
- Take note of the wire connections on the old thermostat. Label each wire with the corresponding letter (e.g., R, G, Y, W) using the marker and labels.
- Disconnect the wires from the terminals by unscrewing them. Use the screwdriver to loosen the screws if necessary.
- Remove the mounting plate from the wall by unscrewing it.
Step 4: Install the New Thermostat
Follow the manufacturer's instructions to install the new thermostat. Here are the general steps:
- Mount the new thermostat's base to the wall using the provided screws and a level to ensure it is straight.
- Connect the labeled wires to the corresponding terminals on the new thermostat. Use the wire cutter/stripper to trim the wires if needed.
- Secure the wires by tightening the screws on the terminals.
- Attach the thermostat cover to the base.
Step 5: Program Your New Thermostat
Programming your new thermostat will allow you to set specific temperature schedules for different times of the day, maximizing energy efficiency. Follow these steps to program your thermostat:
- Set the date and time on the thermostat following the manufacturer's instructions.
- Enter your desired temperature settings for various times of the day (e.g., morning, daytime, evening, night).
- Utilize the thermostat's features, such as vacation mode or hold, to further customize your settings.
Tips and Considerations
Here are some additional tips and considerations to keep in mind when replacing your thermostat:
- Ensure compatibility: Make sure the new thermostat is compatible with your HVAC system before installation.
- Label wires: Properly label the wires from your old thermostat to avoid confusion during installation.
- Consult a professional: If you are unsure about any step of the process, it is best to consult a professional HVAC technician for assistance.
- Test the thermostat: After installation, test the thermostat to ensure it is functioning correctly and accurately controlling the temperature.
- Save energy: Take advantage of the programmable features of your new thermostat to save energy and reduce your utility bills.
Conclusion
Upgrading your home by replacing your thermostat is a relatively simple process that can have a significant impact on your comfort and energy efficiency. By following this step-by-step guide and taking the necessary precautions, you can successfully install a new thermostat and enjoy the benefits it offers. Remember to gather your tools, turn off the power, remove the old thermostat, install the new one, and program it according to your preferences. With a little effort, you can upgrade your home and create a more comfortable living environment.